Not content to conquer white painted trim, I’m moving on to stained wood. It’s like taking the training wheels off, or acrobatics with no net.
One of the marvels of modern construction is caulking. Marvellous stuff for sealing gaps, keeping the cold and water out of where they don’t belong. And sealing gaps. Between the baseboard and the wall, if they don’t quite meet. Or in a mitered joint, if the walls, or the cut, weren’t exactly 90 degrees apart.
Being able to cut two pieces of wood that fit together perfectly, like they were made for each other, is envious.
There’s an interesting thread to be wove about why we have deviated from precision carpetry to quick and easy ways to make interior finishes look ok, but that’s not where I am going right now. I want to honour the spirit in which my house was built, 94 years ago. I want to put together bits of wood, cut by my hand, to make nice window and door frames.
Before the cutting and fitting, there are other issues to resolve, such as how to integrate new stained wood into existing painted frames. For practical reasons, there’s a lot of bits of wood around a window. I decided to leave the parts that touch the window painted, and stain the true trim, the stuff that bridges the window framing to the wall (faces out into the room). As I write this, it sounds right, because that is what trim is. Trim. Decorative bits to hide the junction of the functional bits (the walls and window frame).
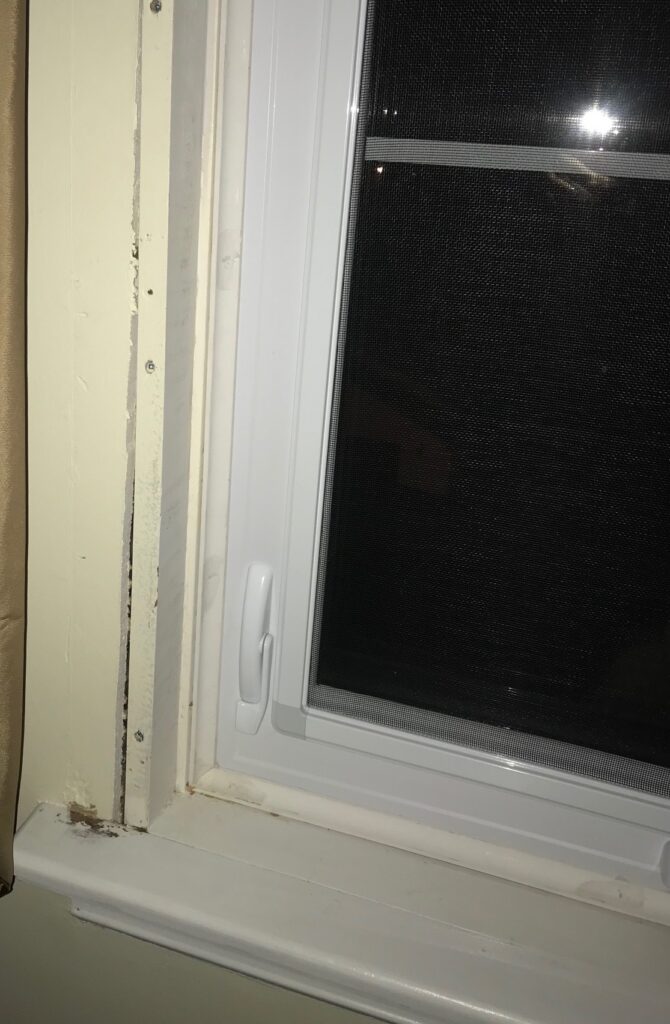
This means the window painted sill needs stripping. With some earth-friendly chemical stripper found in the basement, I was pleasantly surprised how easy it was to remove the paint from only this section of the window. You’d think it was meant to be.

Next is matching the colour of the old wood sill to the new boards. The sills are pretty dark already, so I’m thinking a simple clear top coat will be all they will need to get near to the colour of a great door I found at the Restore for $25. I replaced a pithy thing of moulded cardboard (or so it seemed), and straightened the door frame out in the process of fitting the new old one into the opening.
But I digress. Matching new pine boards to the old wood sill – looks like some kind of hardwood by the grain – is done by experiment. During which I learn that mixing stain isn’t like mixing colours. There is some kind of dominance factor going on, but trial and error still works. I settle on a stain and topcoat1 combo that matches the old sill and new pine casing. Then I watch a bunch of videos about staining wood on YouTube. The consensus is to condition pine to avoid blotchiness. My trial confirms that preconditioner makes the boards look better. But, it changes the intensity of the colour. A few more trials match the preconditioned stain colour with the existing sill.
To fit the stained wood trim around the existing door frames, there is a return. Can’t have stained wood trim with a white return. I start sanding the door frame, only to remember I’d moved the door to swing from the opposite side of the frame, so the previous hinge insets are filled with drywall compound. To compensate, I paint a solid colour, very close to the shade of the stained wood, with a satin finish so as not to upstage the real wood.2
Other details: Below one window, removing the old apron reveals an inch of dark green wallpaper, to be stripped and the difference in height of the wall surface filled.
Slightly more challenging, the frame of the other window sticks out 1/4″ from the adjacent drywall. There are at least three solutions to this: cut down the window frame, notch the casing to level it with the drywall, or build up the drywall to the window frame.
Cutting down the frame doesn’t seem right because the other side of the frame is the same depth to the window. This means the drywall is sunk too deep on one side. Notching the casing will make a lopsided thickness in the decorative trim, which isn’t decorative. This leaves building up the drywall or otherwise filling the gap between the trim and wall. Is there a way to pull the drywall out? – that is the ‘right’ answer, or what is really wrong. But not worth taking the entire wall down and replacing it, as it’s not a functional or safety issue, it’s cosmetic.
Whilst I cut and prep the pieces to make the stained trim, I learn how delicate the wood3 is. I feel like a bull in a china shop, as the saying goes, touching it. Through what I’d call routine handling, the boards get dinged, scratched, split, marked with who-knows-what, and generally abused. Now I know why wood working videos have an inordinate number of planing, sanding, and flush cutting (not in that order) steps.
I am learrning the meaning of craftsmanship. This real wood approach is harder, more work and requires more attention to detail, has more steps, costs more money and is less forgiving. What’s not to love?
I have to remind myself why I’m doing this. To respect history. To honour those who did the work originally. To conserve resources. To reduce waste.

Wood is ready to stain, now that conditioner/stain/top coat has been confirmed. I decided to predrill for the mounting screws so the staining process will get into the crevices and make it easier to hide the fasteners. This is also the step where I fit the pieces of wood together, sanding the joints to make a perfect fit – what would be covered with the caulking in trim painted white.

Holding my breath that this is the last step. A few unusual marks that appeared when the wood was stained. I compensated with touchup paint. Varnishing4 required extra sanding and more coats to take care of dribbles.

But taa-daa. Even as I was putting it up, the trim felt dark and old fashion. Exactly what I was aiming for.
1By top coat, I mean the shiny protective stuff put over stain that doesn’t add a whole bunch of colour except in some circumstances, which should be tested for. Might be some kind of varnish, polyurethane or something else. Experts could write volumes about the clear, shiny stuff that goes on wood but not me, here.
2Could have replaced the board in the door frame, but the need to tidy up the return is likely to come up with other window/door frames, so I took this route.
3I’m using pine because of the cost and availability in my area and time.
4More correctly, top coating.